
Step by Step to Creating a Perfect French Pedicure
As a nail technician, giving a French pedicure is a classic service that many clients will request. A French pedicure is a type of pedicure that involves painting the toenails with a white tip and a neutral base color. It is a timeless and elegant look that can be adapted to suit the individual preferences of each client. In this article, we will provide a step-by-step guide on how to carry out the perfect French pedicure.
Before you begin, it is important to make sure that you have all of the necessary tools and products. This will include a foot bath or basin, a foot file, cuticle pusher, cuticle nippers, a nail buffer, a nail brush, nail polish remover, base coat, top coat, and a white nail polish for the tips. You will also need a towel and some cotton balls or pads for removing the polish.
Prepare the foot bath or basin by filling it with warm water and adding a foot soak or some Epsom salts. This will help to soften the skin and nails, making it easier to work on them. Invite the client to sit down and place their feet in the foot bath.
Use the foot file to gently remove any dead skin and rough patches from the soles of the feet. Be careful not to apply too much pressure, as this can cause irritation or discomfort.
Use the cuticle pusher and nippers to carefully push back the cuticles and trim any excess skin. This will help to create a clean and polished look for the toenails.
Use the nail brush to clean the toenails and remove any dirt or debris. This will help to ensure that the polish adheres properly and lasts longer.
Apply a base coat to the toenails, making sure to cover the entire nail and extending slightly beyond the edges. This will provide a smooth and even surface for the polish to adhere to, and will also help to protect the natural nails.
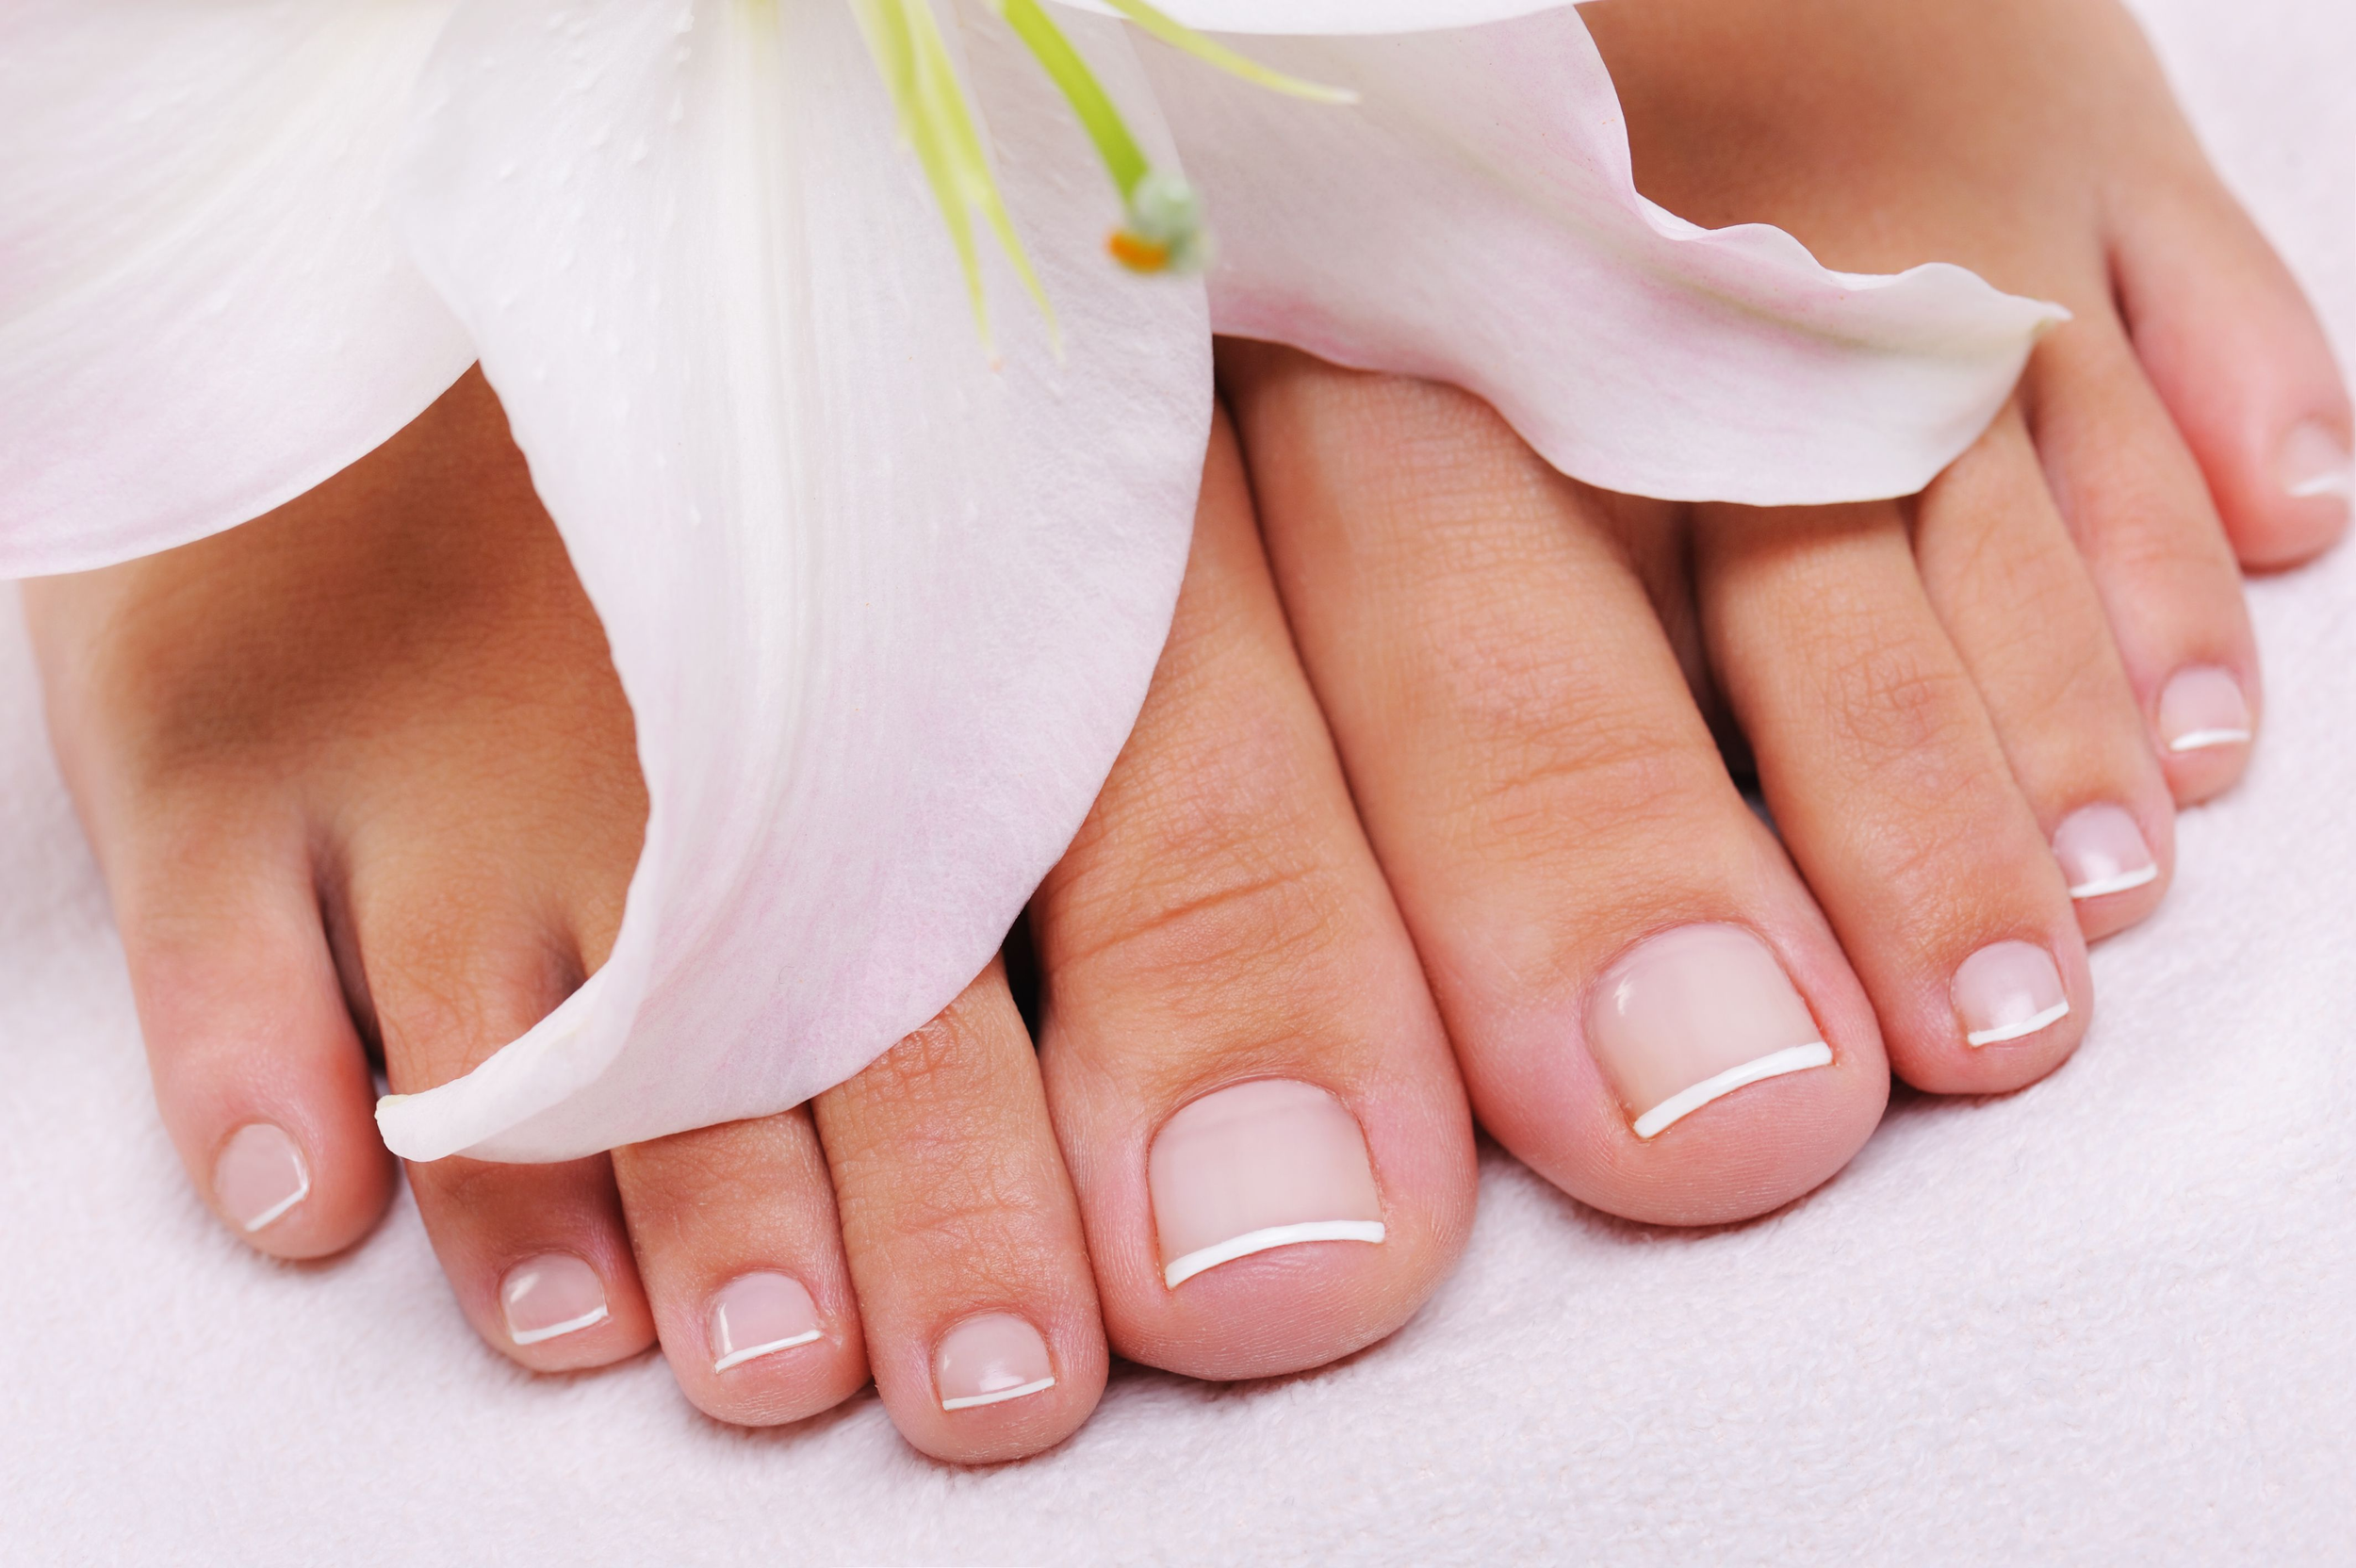
Once the base coat has dried, it is time to apply the white tip. Using a thin brush, carefully paint a white stripe along the tip of each toenail. Be sure to create a straight and even line, and avoid getting any polish on the skin around the nails.
It is then time to finish the pedicure with a top coat. This will provide a glossy and protective finish, and will help to seal in the polish and prevent chipping. Apply the top coat in thin, even coats, making sure to cover the entire nail and extending slightly beyond the edges.
Once the top coat has dried, use a nail buffer to gently buff the toenails and create a smooth and shiny finish. This will remove any excess polish and give the toenails a polished and professional look.
Finally, use a cotton ball or pad and some nail polish remover to clean up any mistakes or smudges. Be careful not to apply too much pressure, as this can remove the polish from the toenails.